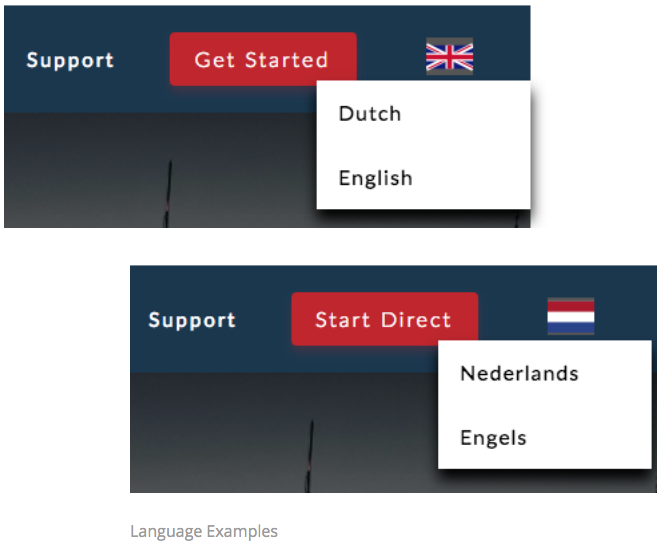
Your customers wil be able to switch languages and see the configurator,
ordering process and accounts in their preferred language.
This is not required for the implementation.

1. Because the language system uses the same system as the login and
widget, we just have to add a line of code in order to enable the
language system.
Add the following code before the </body> tag on every page that displays
the language system.
<div id="si_languageWidgetContainer"></div>
2. If you use another system, make sure to add “?lang=en” for english pages
and (for example) “?lang=nl” to dutch pages.
Example:
www.yourwebsite.com/configurator.html?lang=en
This is needed to show the login system what kind of language the
customer is reading the website in, it reads the lang parameter from the
previous page.
3. Changes to the style can be made with the following elements in CSS:
| ul#si_si_languageMenu | Language menu container |
| ul#si_languageMenu li a | List item links |
| ul#si_languageMenu li div | List item |
4. Default style will be applicable, make sure to prioritize your own CSS style.
For the default style:
https://configurator.speakintelligence.com/Content/Widget/Language/default.css
Example Code:
ul#si_languageMenu {font-family: Lato, sans-serif;font-weight: 300;letter-spacing:
1px;font-size: 16px;}
ul#si_languageMenu li div {position:absolute;margin-left: -82px;background-color: #ffffff;}

Comments
0 comments
Please sign in to leave a comment.